
Flooring is an essential element of any building project, contributing both to the aesthetics and functionality of a space. Among the many flooring options available, vinyl, engineered wood, and carpet stand out as popular choices. In this artical, we’ll delve into the key differences between these options, and take you along our process of changing out carpets with premium oak vinyl flooring for our customer.
Vinyl Flooring vs. Engineered Wood vs. Carpet
When making your selection, it’s important to know the difference of the common types of flooring available in the market. We’ve compiled a list of pros and cons here to help you make the right decision based on your need.
Vinyl Flooring
-
Pros: Waterproof, durable, affordable, and mimics the look of natural materials like wood. Easy to clean and maintain. Resistant to scratches, dents, and stains.
-
Cons: Can be punctured by sharp objects. Doesn’t feel as warm or soft underfoot as carpet.
Engineered Wood
-
Pros: Combines the beauty of real wood with a layered construction that resists warping and moisture better than solid hardwood. Suitable for areas with light moisture, such as basements.
-
Cons: More expensive than vinyl. Can be scratched and isn’t completely waterproof.
Carpet
-
Pros: Soft and warm underfoot, offers insulation and soundproofing benefits. Comes in a variety of textures, colors, and patterns.
-
Cons: Not suitable for wet areas. Can harbor allergens, requires regular cleaning, and can stain easily.

Installing Premium Oak Vinyl Flooring
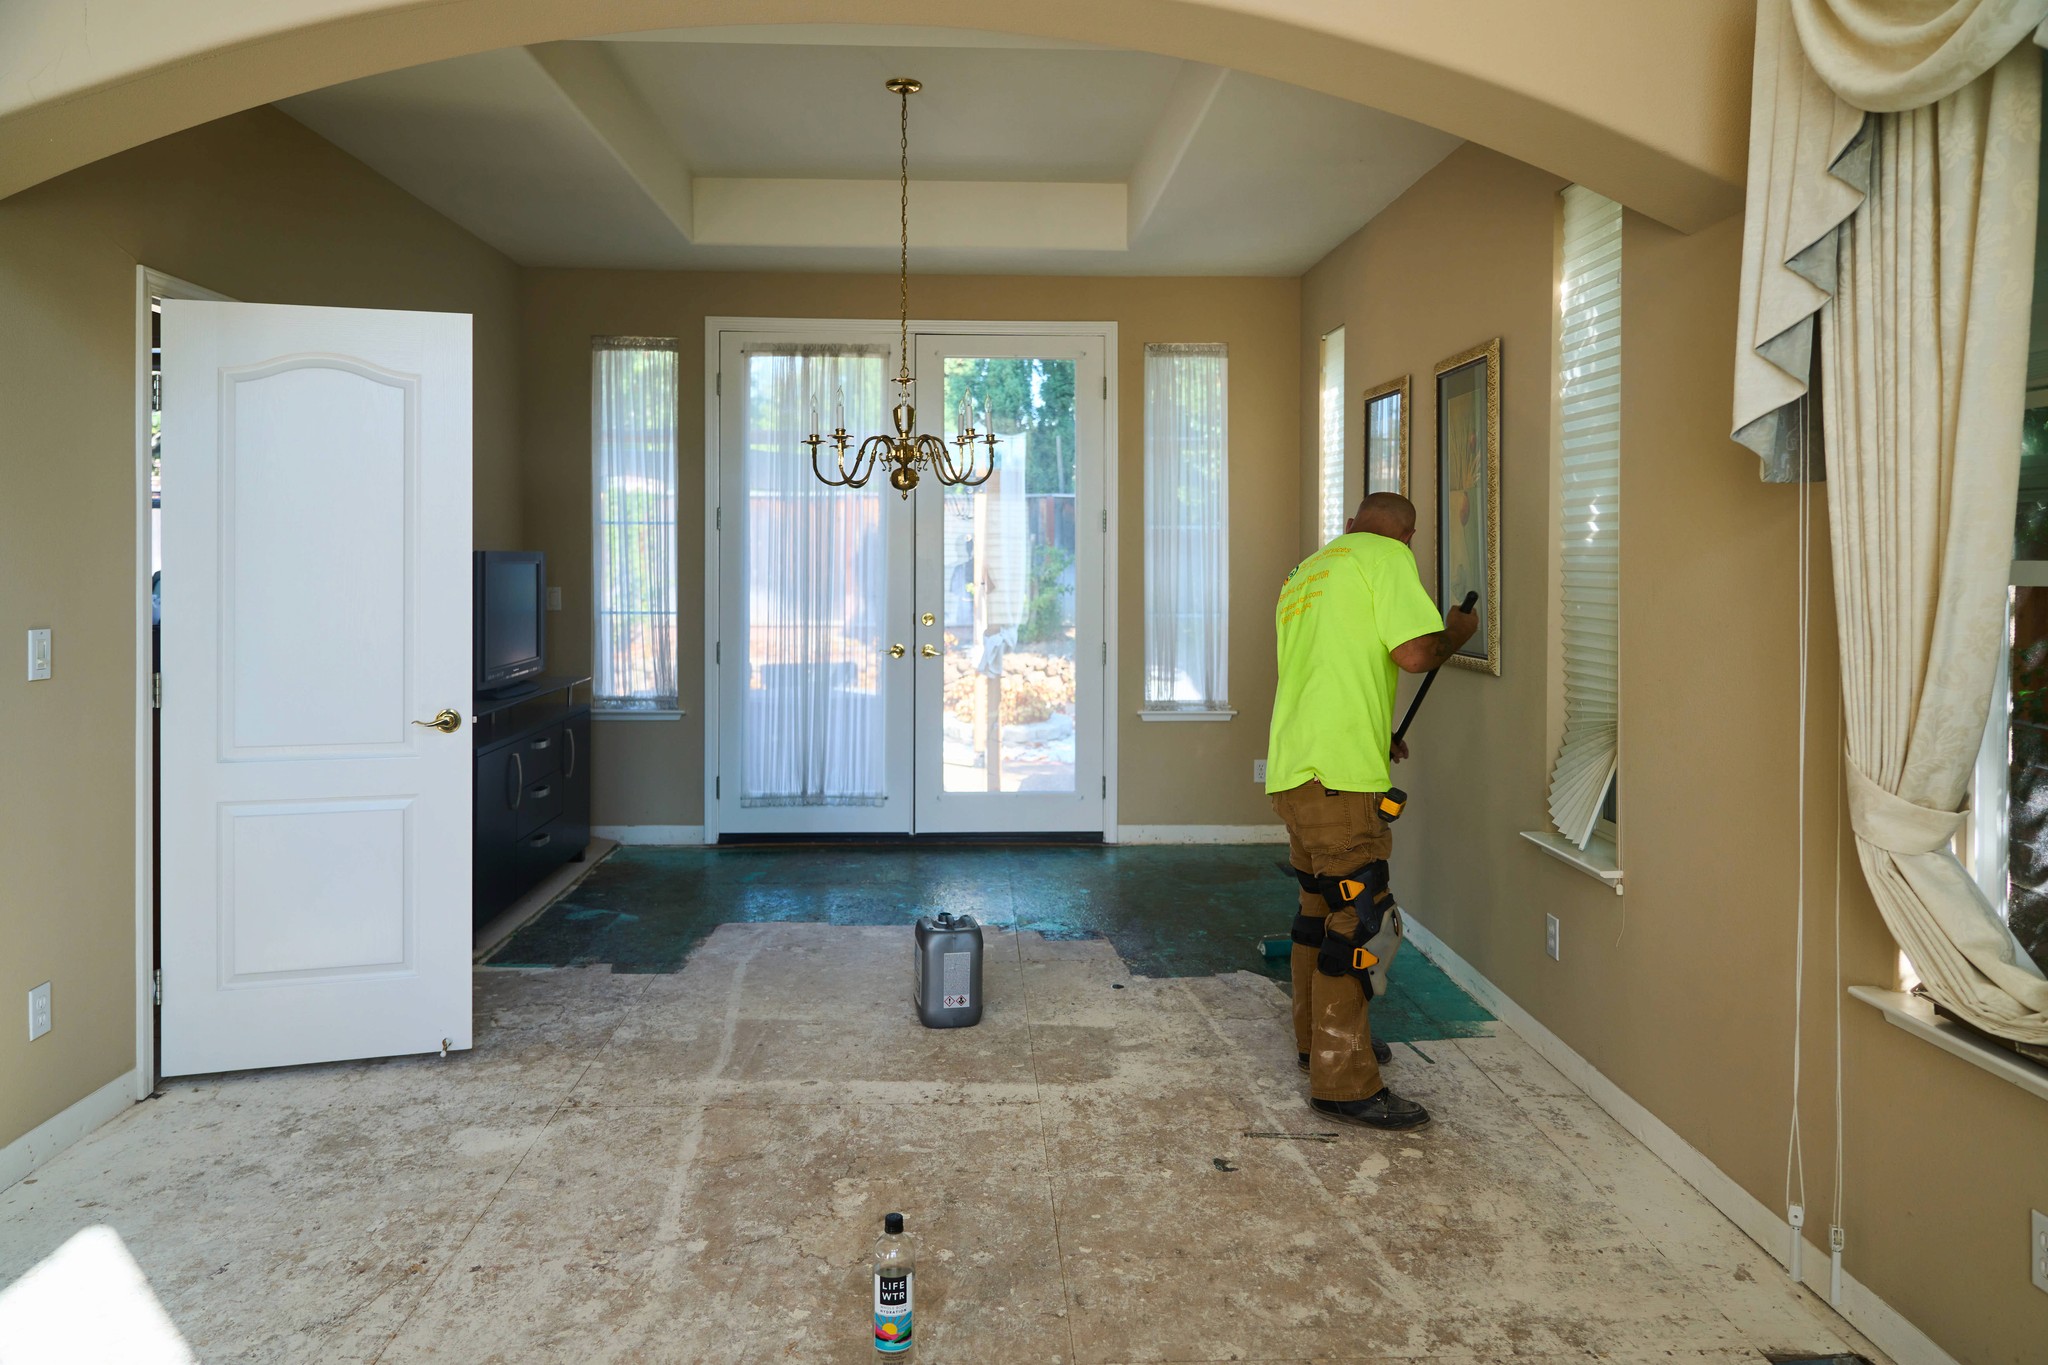
Our customer picked out a beautiful oak varient of the premium flooring in the place of their old carpet. Here is what the installation process looks like:
-
Preparation: Before installation, ensure the subfloor is clean, dry, and level. Remove any existing flooring, baseboards, or moldings.
-
Acclimation: Let the vinyl planks acclimate to the room’s temperature for at least 48 hours by placing them in the installation area.
-
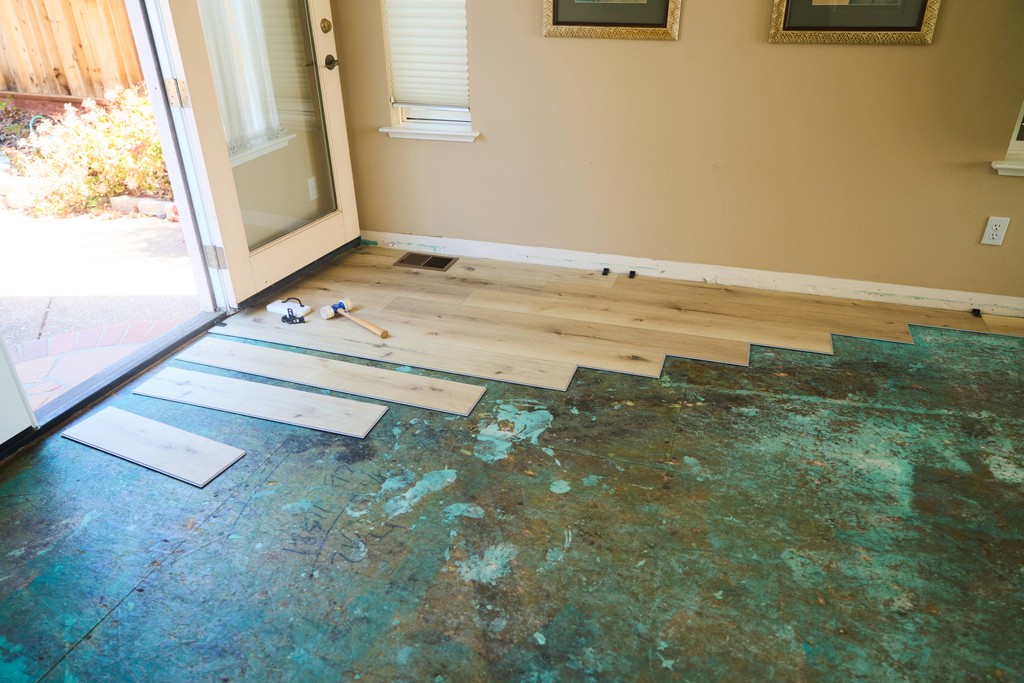
Layout: Decide on the direction of the planks. Typically, planks are installed parallel to the longest wall.
-
Cutting: Use a utility knife or vinyl cutter to trim planks to the desired size. Always measure twice and cut once.
-
Installation: Starting at one end of the room, begin laying down the vinyl planks. Most vinyl flooring products come with a click-lock system, which allows for easy installation without the need for glue.
-
Finishing Touches: Once all planks are installed, replace baseboards or moldings. Use transition strips where the vinyl meets other flooring types.